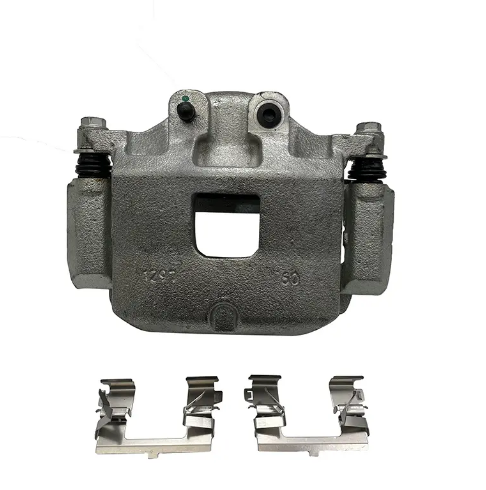
How to Properly Install HWH Brake Caliper Front Right 18-B5549 on Your Vehicle
Installing a brake caliper may seem like a daunting task, but with the right tools and guidance, it can be done easily and efficiently. In this article, we will guide you through the step-by-step process of properly installing the HWH Brake Caliper Front Right 18-B5549 on your vehicle. By following these instructions, you can ensure your brakes are working optimally, guaranteeing a safe and smooth ride.
Before we begin the installation process, make sure you have all the necessary tools at hand. These tools include a wrench, a bungee cord, brake cleaner, anti-seize compound, and a torque wrench. Additionally, it’s crucial to work in a well-ventilated area and ensure your vehicle is securely parked on a level surface.
Step 1: Preparation
Start by loosening the lug nuts on the wheel you will be working on. This will make it easier to remove the wheel later on. Once the lug nuts are loose, use a jack to elevate the vehicle, ensuring it is stable and secure on jack stands.
Step 2: Removing the Old Brake Caliper
Locate the brake caliper on the wheel you are working on. You will find two bolts holding it in place. Use the wrench to remove these bolts, making sure to keep them in a safe place for reinstallation later. Once the bolts are removed, carefully slide the brake caliper off the rotor, taking care not to damage any of the components.
Step 3: Preparing the New Brake Caliper
Before installing the new brake caliper, it’s important to clean it thoroughly with brake cleaner. This will remove any dirt or grease that may have accumulated during shipping or handling. Once the caliper is clean, apply a thin layer of anti-seize compound to the slide pins.
Step 4: Installing the New Brake Caliper
Carefully align the new brake caliper with the rotor, ensuring the mounting holes line up correctly. Slide the caliper over the rotor and align it with the bolt holes on the wheel knuckle. Insert the bolts you removed earlier and tighten them securely using the torque wrench. Refer to the manufacturer’s specifications for the recommended torque values.
Step 5: Reattaching the Wheel and Testing
With the new brake caliper securely installed, carefully lower the vehicle from the jack stands and reattach the wheel. Tighten the lug nuts evenly, following a star pattern, until they are snug. Lower the vehicle completely and finish tightening the lug nuts to the recommended torque specification.
Once the installation is complete, it’s essential to test the brakes before hitting the road. Pump the brake pedal a few times to ensure proper brake pad engagement. Listen for any unusual noises or vibrations while applying the brakes. If everything feels and sounds normal, you have successfully installed the HWH Brake Caliper Front Right 18-B5549 on your vehicle.
In conclusion, installing a brake caliper may seem intimidating, but by following the step-by-step instructions provided in this article, you can confidently install the HWH Brake Caliper Front Right 18-B5549 on your vehicle. Remember to take your time, use the appropriate tools, and follow all safety precautions. With proper installation, your brakes will function optimally, ensuring a safe and smooth ride for miles to come.
Post time: Nov-08-2023